
Sprouting Vegetable Seeds indoors is SO Cool, SO Easy & oh SO Satisfying!
What’s rocking the Walnut Kitchen during the Covid-19 pandemic? My daily (and even hourly) thrill is watching life unfold before my eyes – planting, sprouting and growing vegetable seeds indoors. Yes, it’s a perfect antidote to the daily dose of depressing news.


Step Number One – Sprouting Vegetable Seeds
Click on the video below for Step One. You’ll see it’s simple. I’ll post more videos in the coming weeks as the seeds grow. To help you get started (if you’re going to take the leap) I’ve put together below a list and links for all you need and instructions on what to do. (But, if sprouting vegetable seeds is too stressful because it’s WAY more challenging getting supplies these days, please don’t fret – just sit back and witness this through my eyes).
If I can do it – anyone can do it
Here’s What You Need to Sprout Vegetable Seeds:


Seed Starting Mix
It’s a soilless mix consisting of: ½ part peat moss, ¼ part perlite, ¼ part vermiculite and 1 tsp garden lime. It’s easy to find it premade at most hardware stores. This is the one I use here.
Seed Starting Tray (which comes with a drip tray and lid).
You can actually use anything to germinate vegetable seeds ranging from egg cartons, mushroom containers or even a swiss chalet container (don’t forget to save the lid). If you don’t have a lid, you can use plastic wrap to cover the trays. Alternatively, you can buy a multi cel tray or something like this kit.
Vegetable Seeds
Available at grocery stores, garden centers or online. I have used Urban Harvest Vegetable Seeds and planted tomatoes, peppers, chard, carrots, beets, basil and a bunch more.

Grow Light
Use a south facing window if you don’t want to invest in a florescent tube light. I used a T5 full daylight spectrum bulb (24W seen in the bottom of the photo – the other light is probably too powerful). Mine is like this.
Light Timer
Heat Mat or Heating Pad (anything you have at home) & magazine to buffer the heat.
Instructions:
- Pour soilless mix in bowl and add just enough water to moisten it. It’s important not to soak it too much so your seeds don’t get mouldy.
- Fill your tray with the moistened soilless mix & indent each cell to the depth the seed should be planted (see back of seed packet for instructions).
- Place one to three seeds in each cell.
- Cover the seeds with more soilless mix (just enough to cover the depth of the planted seeds.
- Cover the tray with the clear lid (or plastic wrap) to create a greenhouse effect.
- Place the seed tray on top of a heating mat, if using a heating pad, ensure it’s not too hot by buffering the pad with a magazine. This will create condensation and accelerate the greenhouse effect.
- Check the cells and moisten with a light sprinkling of water if they get dry.
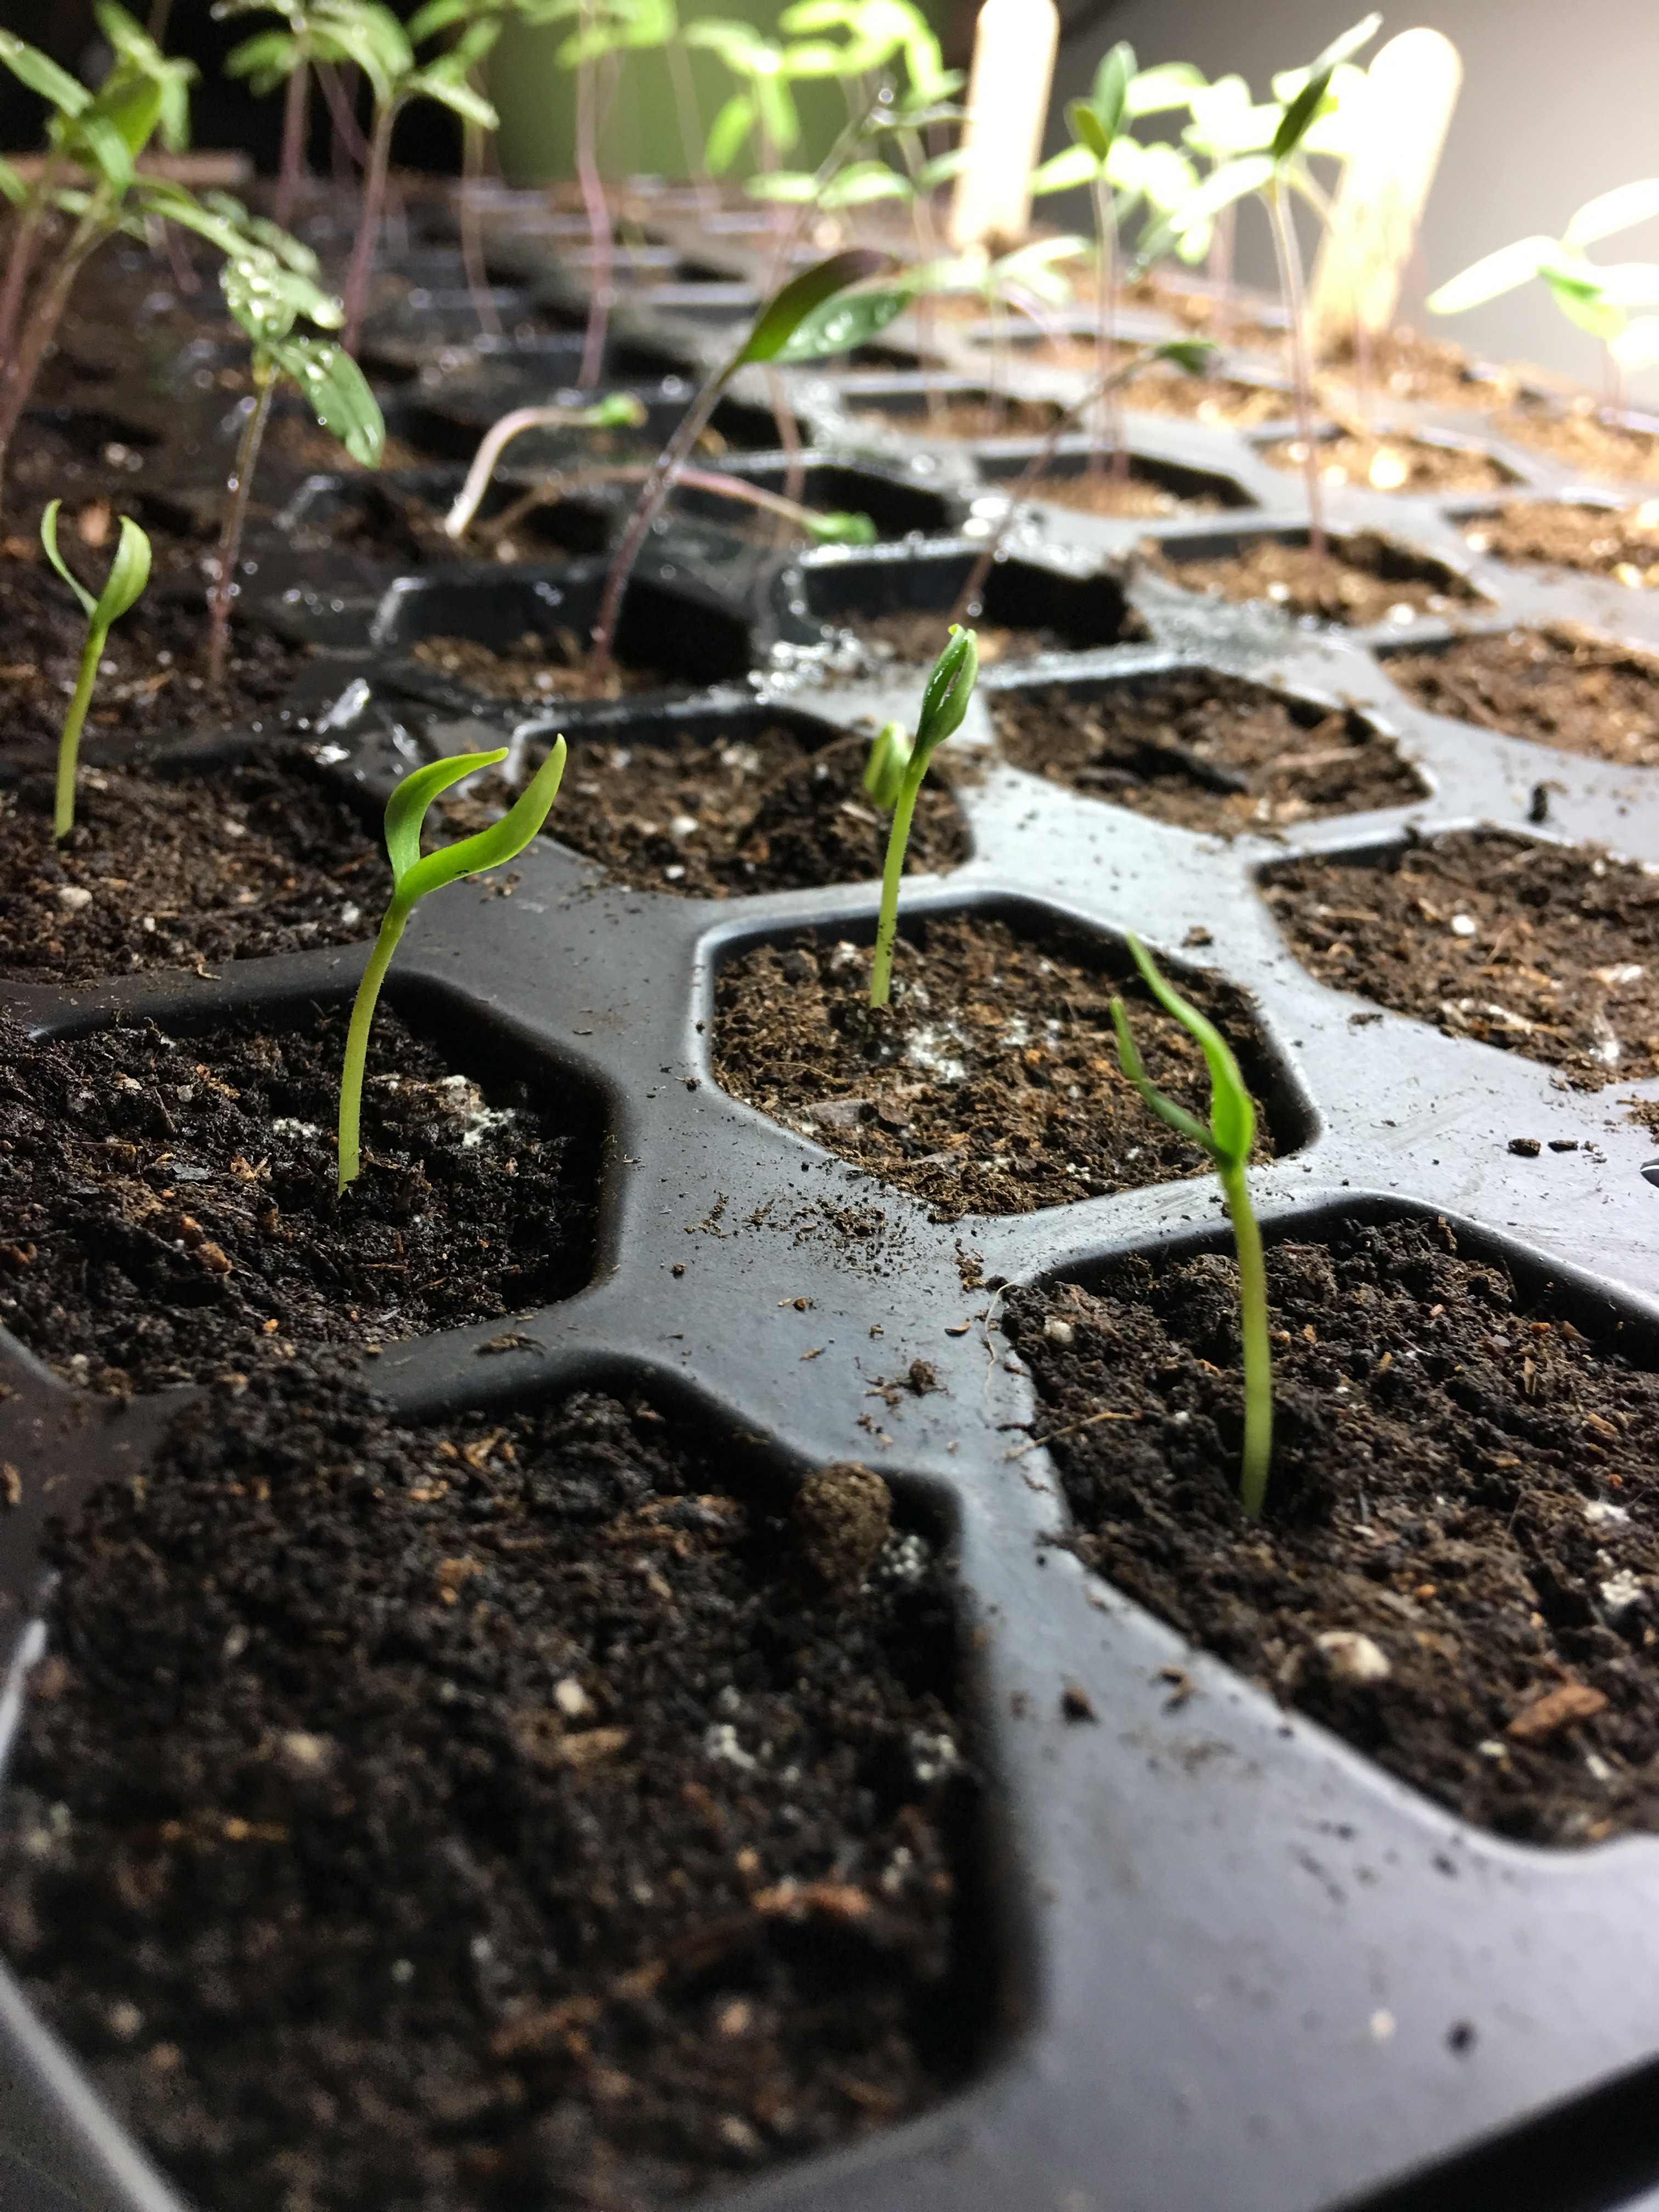
- Once the seeds sprout, remove the lid and put the sprouts under fluorescent lights. The tops of the young sprouts should be about 6 inches away from the light (depending on how strong your light is). If it’s a really strong light, distance them even further. Set the light timer so that the light is on for about 18 hours (and turns off from 11pm – 5am).
- Keep watering the sprouts when they get dry. It’s best to water your plants from underneath by putting water in the drip tray for 5 minutes and then discarding the remaining water. If they still feel dry, sprinkle a bit of water on top.
- Enjoy watching them grow!


These plants don’t need to be transferred to a bigger pot until there are 2 ‘true’ leaves on them (don’t be fooled by the initial leaves you see).
That’s it for now! Next time I’ll tell you what to do once your seedlings are well established and need to be transferred to a bigger pot and ‘hardened off’ (which means they get taken outside to slowly acclimatize to the outdoor conditions). Meantime, just get to it and start sprouting vegetable seeds!
If you really want to ‘dig deeper’ (LOL) into sprouting vegetable seeds and growing anything and everything under the sun, you should definitely check out my plant guru, Karen Bertelsen, creator of “The Art of Doing Stuff”. She has written extensively on this topic here. I highly recommend you follow her because she’s a wealth of information on all kinds of cool inspiring ideas (plus she has a wicked sense of humour).
Happy Planting! Stay Safe and Stay Healthy. I’d love to hear from you so keep me posted on your gardening adventures!


Love it Michelle! I will start mine in egg cartons, thanks
Martine
I love it! Keep me posted – Goodluck!
Love the video Michelle!
Awesome! I am going to try this. I’ll have to.purchase seeds and soilless stuff online.
You go girl! You can do it!
It looks like fun . Happy growing.
That’s my girl!!! Turning a bad situation into a positive and constructive experience!!!
We are so proud of you! Keep up the good work!!
Hugs…Mom and Dad
Excellent Work. Woody looks like he was being a big help as well