EASY SPRING PLANTERS
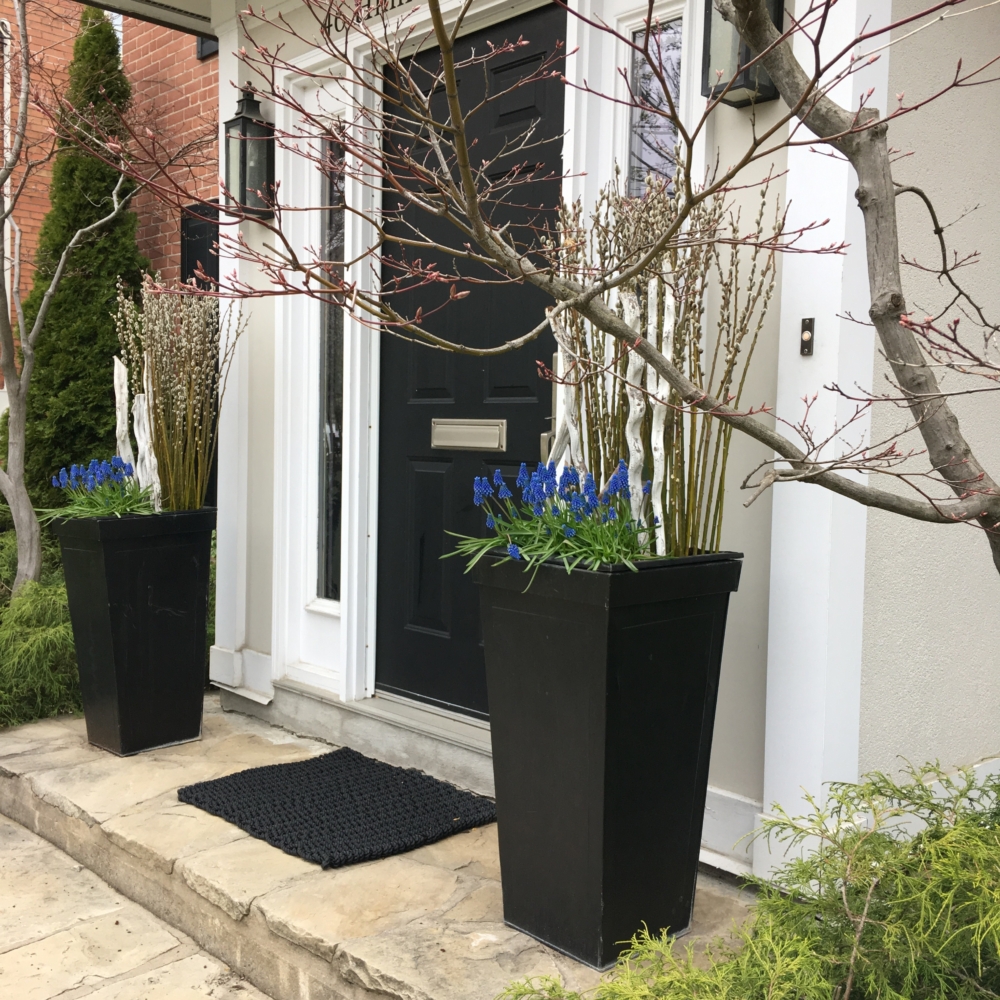
WHEN IS IT WORTH MAKING YOUR OWN SPRING PLANTERS?
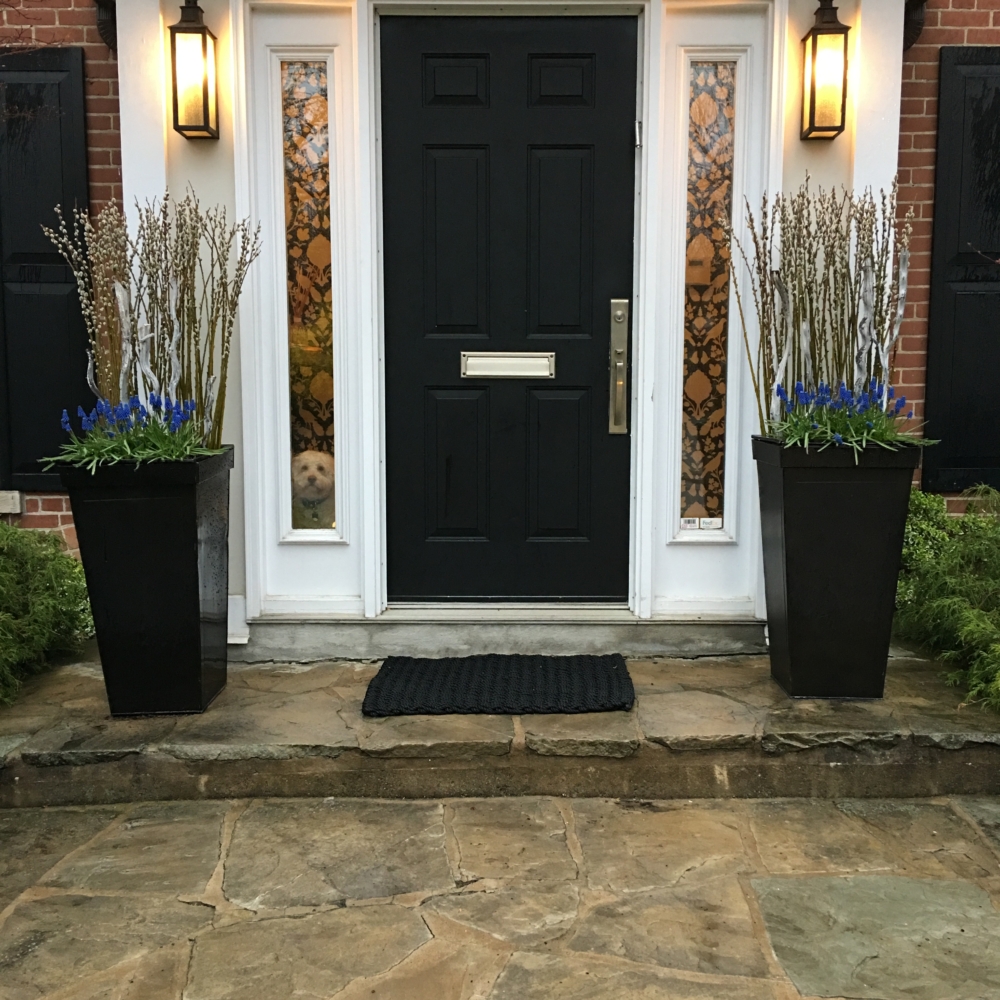
After a long cold grey winter, it’s so tempting to get carried away with all the pretty spring flowers. Trouble is, tulips and daffodils don’t last very long. I adore the look of blue hydrangeas, but temperature fluctuations at this time of year mean they often die. I’m a gal who needs bang for her buck. So, if I’m going to spend anything, I want to enjoy my plant containers for months instead of weeks. That’s how I justify splurging on winter and summer pots like the ones I’ve shared with you on this blog. So, the only time I ever go to the effort of making spring planters is if they can be cheap and/or easy (prefereably both). If you want more fab photos and info on the elements I used, click ‘continue reading’ (below). Or, if you just want to see the video demo of how simple these babies are to make, here’s the link to michelleswalnutkitchen easy spring planter demo.
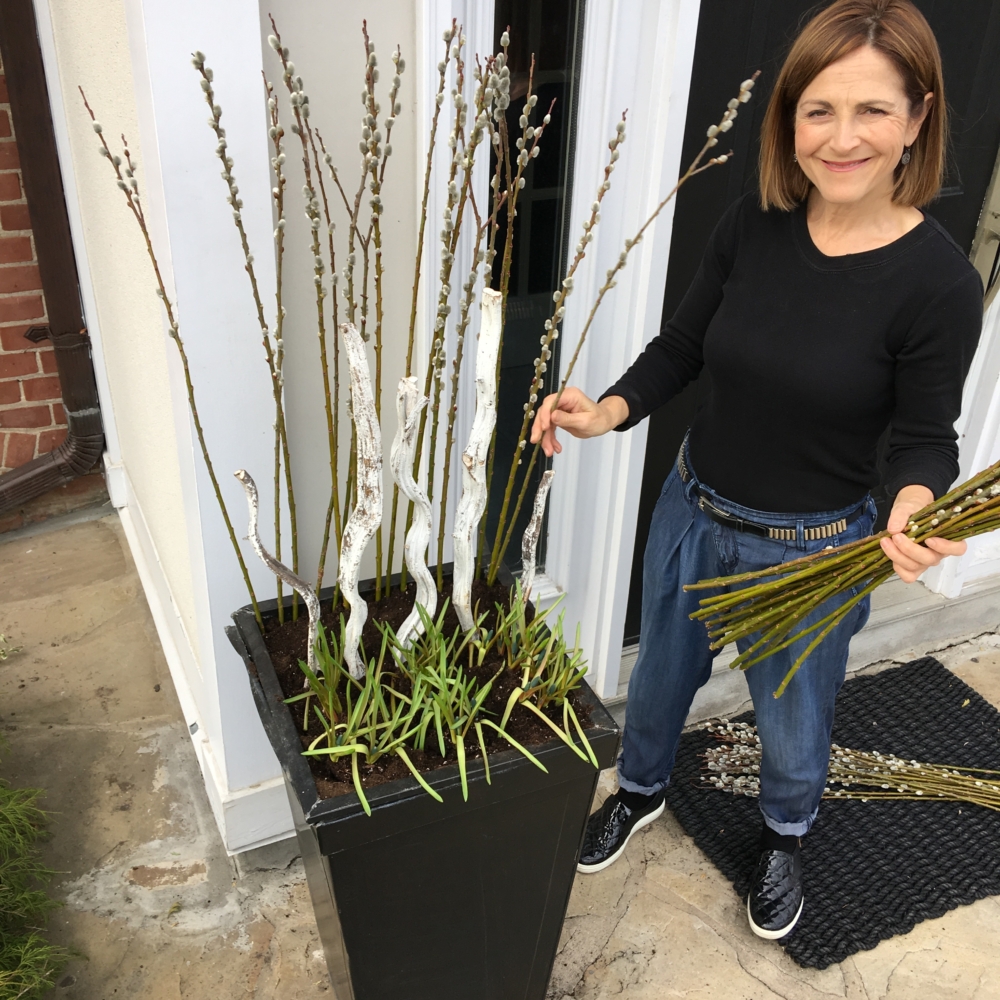
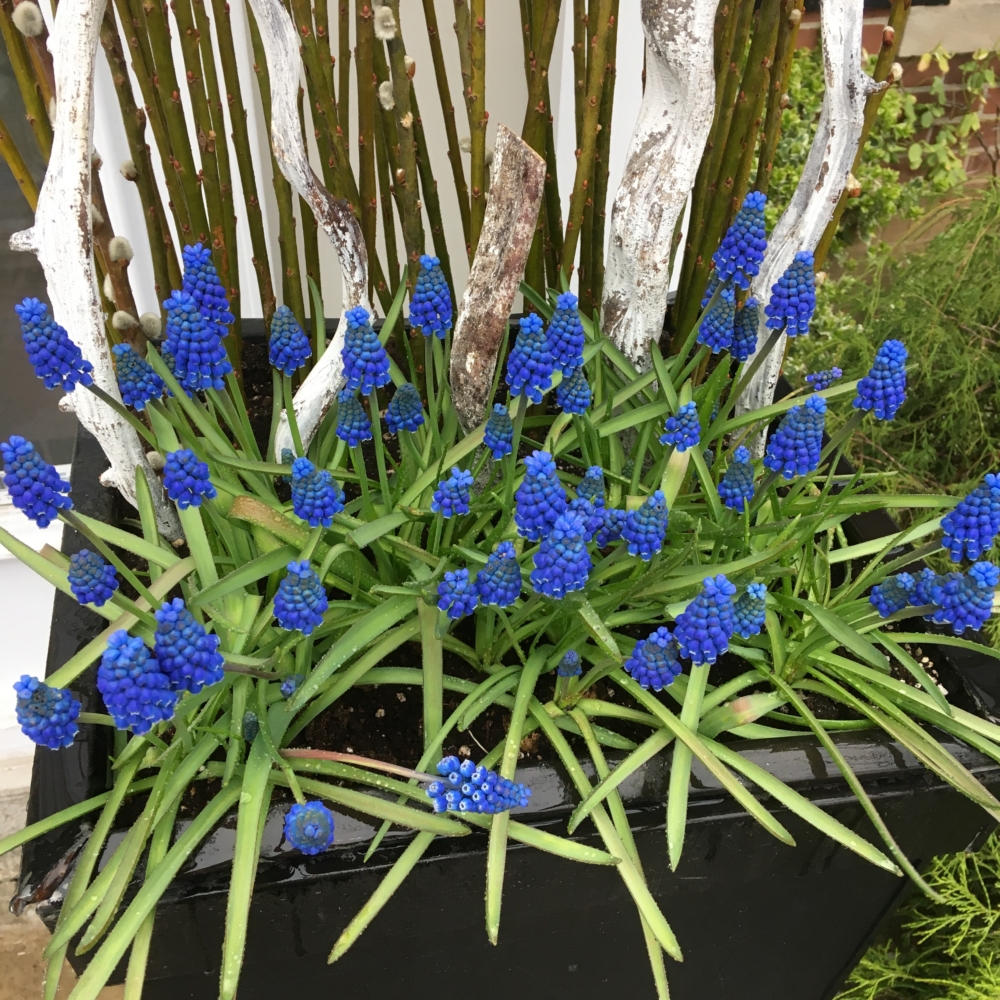
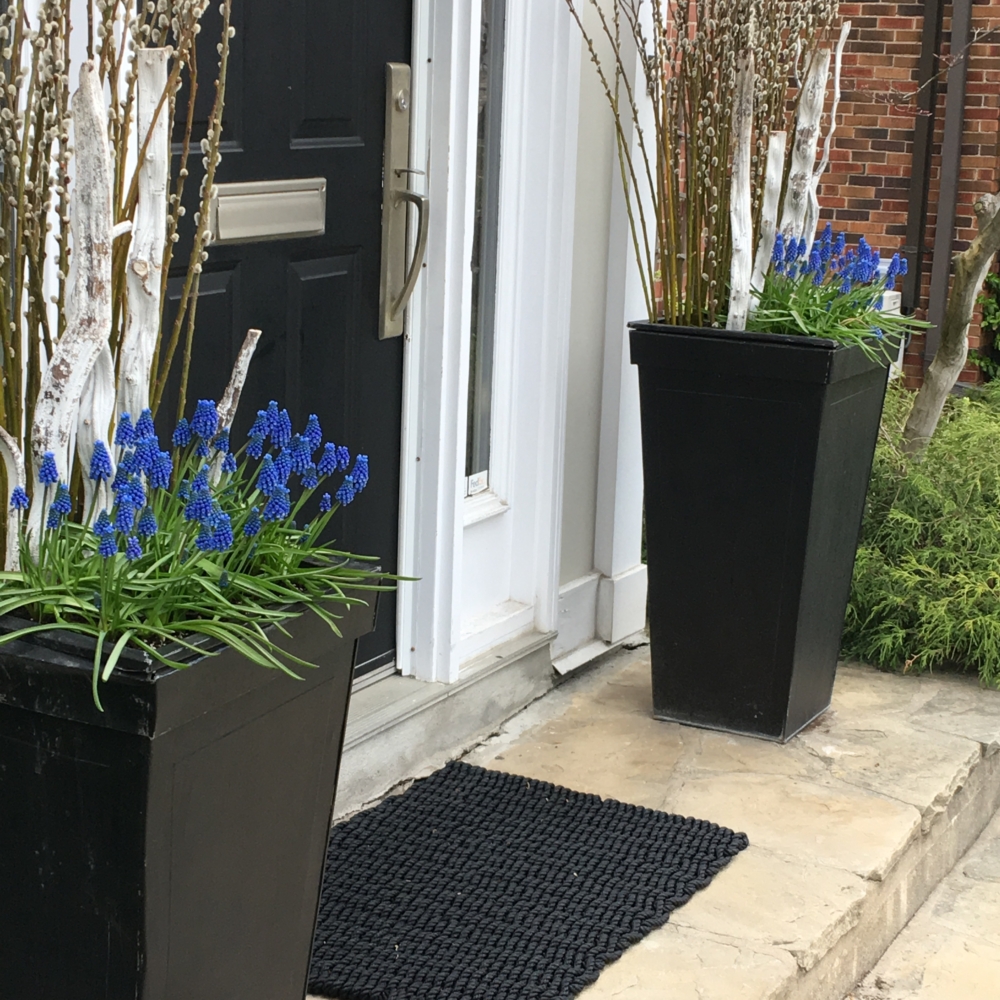
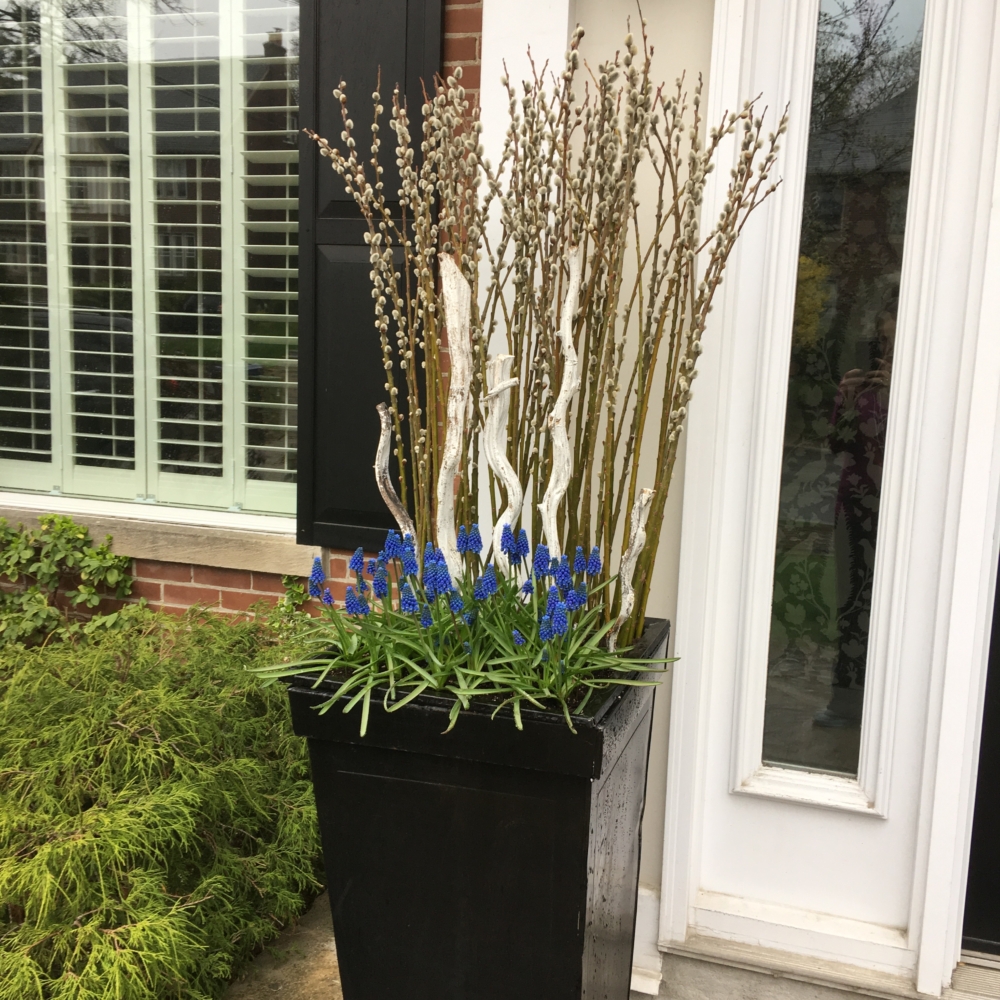
I’m partial to blues and purples and I also like a simple contemporary look, so there are very few elements to these containers (as you can see). Now, what do you need? Because materials for planters are so expensive, I always keep logs, pine cones, branches, etc. to recycle for future garden pot creations. So, I shopped in my garage and found some thick white sticks to anchor the pots. You can easily use small thin birch logs. Then, all I bought was soil, 12 pots of blue muscari (also known as grape hyacinths) and lots of pussy willow branches (the most expensive material in this arrangement). Below is the video demo to show you how I put it all together. So simple. Enjoy! Subscribe to Michelleswalnutkitchen YouTube channel if you want to be informed when I post new videos.
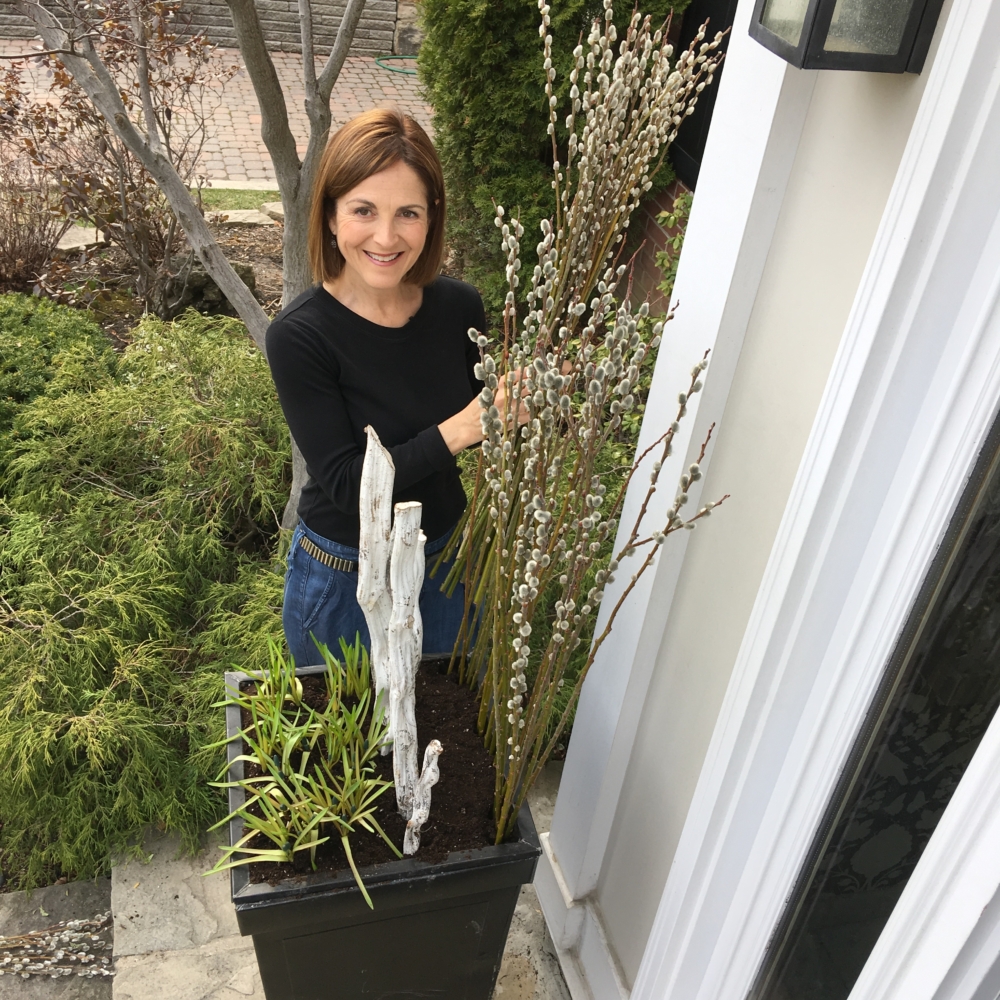

I’d love to hear from you so please share tips, tricks and pictures of your spring planters!
For related posts click on the following tags.

This is absolutely awesome !!!!
I am going to try it myself. THANK YOU !